Deutsche Volkslieder | Folksongs | Hymns | Genealogy | Pacific Holiday | SONG PAGE | SongSearch | Forum | 

Build a Bridge Bridge Photos
Pick a Bridge Bridge Models
Home Contact

| Plans | Fabrication | Assembly | Exploded View | Footings | Durability | Loads | Photos | Models | Screens | History |
| Assembly |   1   |   2   |   3   |   4   |


Assembling a Light Bridge

Exlpoded diagram - larger picture
• Lay out the arch pieces symetrically, matching the numbers at the end of each arch piece.
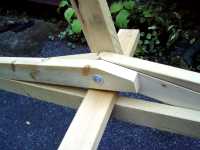
• Bolt the arch crossings with 4" Bolts.
• Large washer goes on the head of the bolt on the inside of the arch. Small washer and nut on the outside of the arch.
• Bolt arch ends with a 5 1/2" bolt. The end post brace will go here later.

  click for a larger picture

• Align the lap joints and stretch the arches.
• Do not stand up the arches yet.
• Attach joists on the corresponding side of the arch peaks with a 5 ½" bolt, starting with an end joist.
All pointy joists point in the same direction.
  click for a larger picture

• On the last arch peak put the end joist on the inside of the last pointy joist and fasten it to the arch peak, with the long 7" bolt.
• Snug up the bolts but don't tighten them.
  click for a larger picture

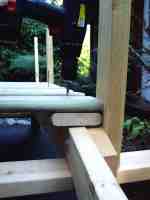
• Attach railing post to outside of arch.
  click for a larger picture

• Stand up the arches and slide the crossbeams under the arch peaks.
• An X is marked on the cross-beam at the spot the railing post should sit. This will help you line things up.
• Make sure the arch feet are square on the footings (else your deck panels will be askew and won't fit between the posts).
• Space the arches to deck panel width.
• Align cross-beams so they extend outboard about 12" (10½" past the railing post).
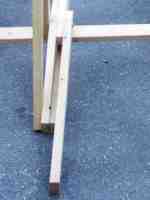
• Attach end post braces but don't screw them to the end posts yet.
  click for a larger picture

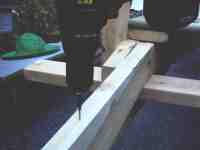
• Screw joists to the arch at the pre-drilled holes.
  click for a larger picture

• Make sure decking fits between the posts.
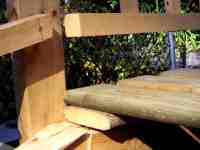
• Lay deck panels on arch.
• Screw deck panels to joists between every 3d~5th plank.
  click for a larger picture

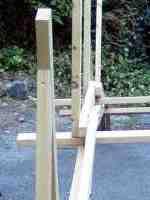
• Tilt railing post at one end of the bridge so that it is at right angles to the arch piece underneath it.
• Fix end post brace to the 2 railing posts on one end of the arches.
  click for a larger picture

• Hang one of the shorter railing panels on the middle posts and screw to the middle of the post.
• Tilt the post as required, so the hand rail ends in the middle of the post, except for the end rails that have some overhang.
• Screw the longer end panels to the end post through the pre-drilled holes.
  click for a larger picture

• Align the kick rail of the radial picket panel to the middle of each post and screw to post.
  click for a larger picture

• Attach side post braces.
• Fix end post braces on the other end of the arch
• Tighten all bolts so the washers just start to bite the wood a little. Do not overtighten.
  click for a larger picture


Exploded View Of All The Parts


The design and construction techniques presented on this page are protected from patents by prior art & copyright and I reserve all rights regarding this design. Feel free to utilize this information for personal use but applications involving the exchange of money, require my approval. If you'd like to build bridges for profit, I'd be happy to help you. :-)  Frank Petersohn

Deutsche Volkslieder | Folksongs | Hymns | Genealogy | Pacific Holiday | SONG PAGE | SongSearch | Forum |